My Evo 9 :D

Steve220

Steve220

New Member
Messages
1,093
Location
Moray, 57N
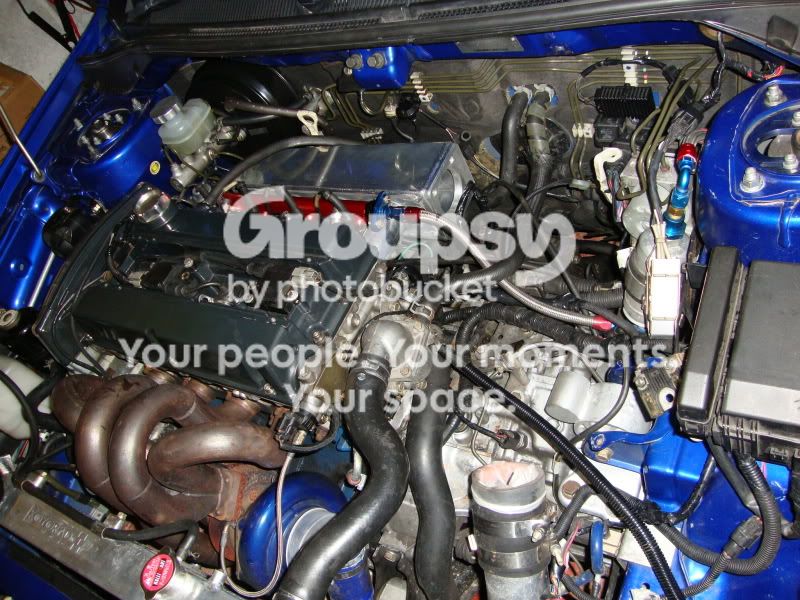
Many thanks guys (and gal ;) )!! Still a lot more to come, once the car is up in Scotland, the engine is coming out and the engine bay is getting a complete overhall :D All none essential wiring, brackets, parts removed and then going for a minimalist look and hiding as much wiring as i dare lol.
 
LeeEvoMR9

LeeEvoMR9

New Member
Messages
498
Location
Kent
very nice i would spray that red lip on them rims blue tho still very nice evo mate
 
Steve220

Steve220

New Member
Messages
1,093
Location
Moray, 57N
No ta. Would rather leave them original, being as they're extremely expensive wheels.
 
Steve220

Steve220

New Member
Messages
1,093
Location
Moray, 57N
Hi All!
Well I’m definitely overdue for an update! And quite a significant one too! I’ve finally moved the car up north after spending 9.5 hours being deafened by it. So on we go :D

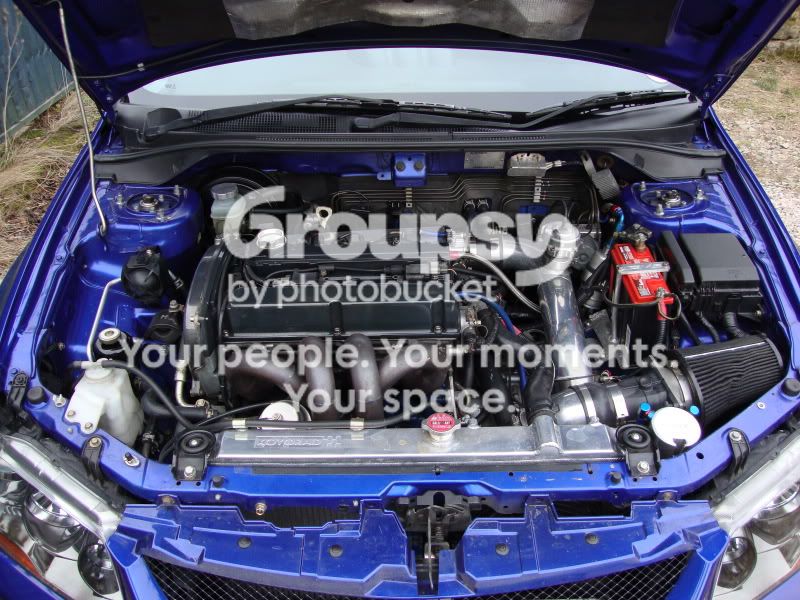
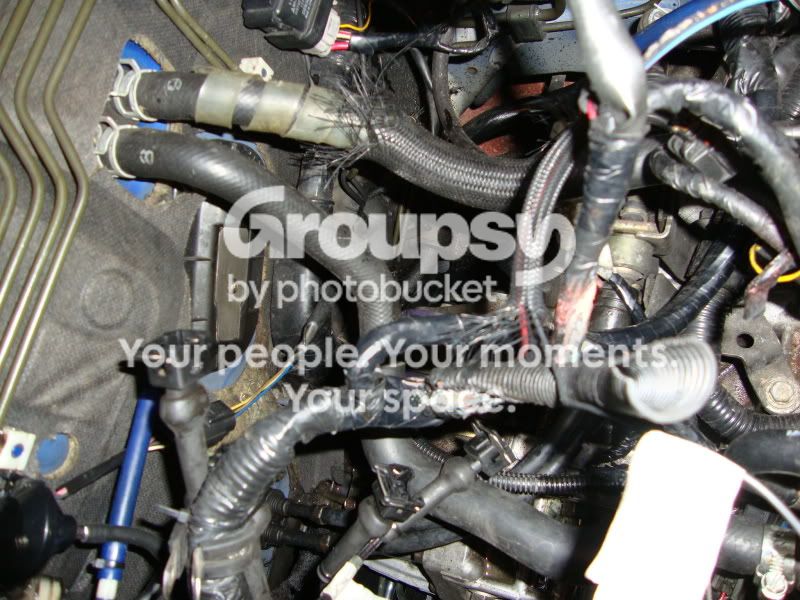
My main gripe with the engine bay is how tatty some of the bits are in it, and as you all know, if it bugs me, I change/sort it :D Here are a few photos showing the previous condition of certain parts of the engine bay.

First and overview of the lot.


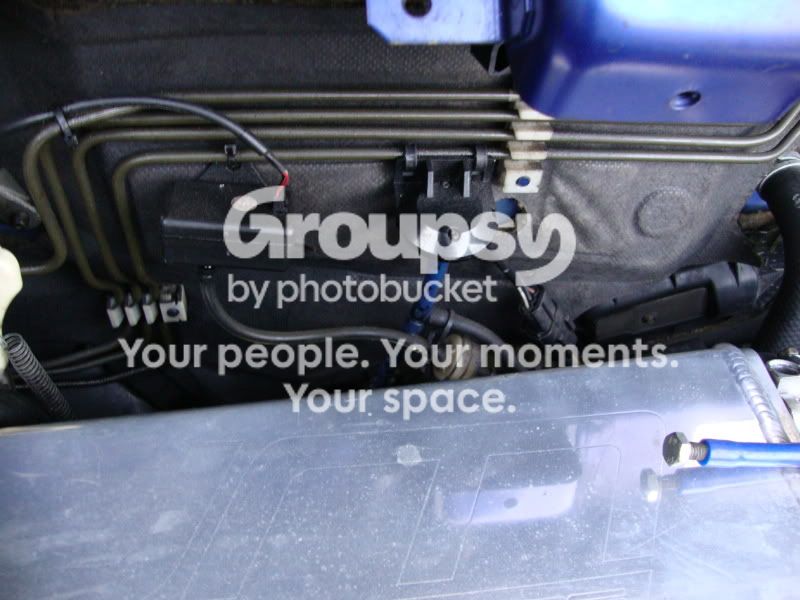
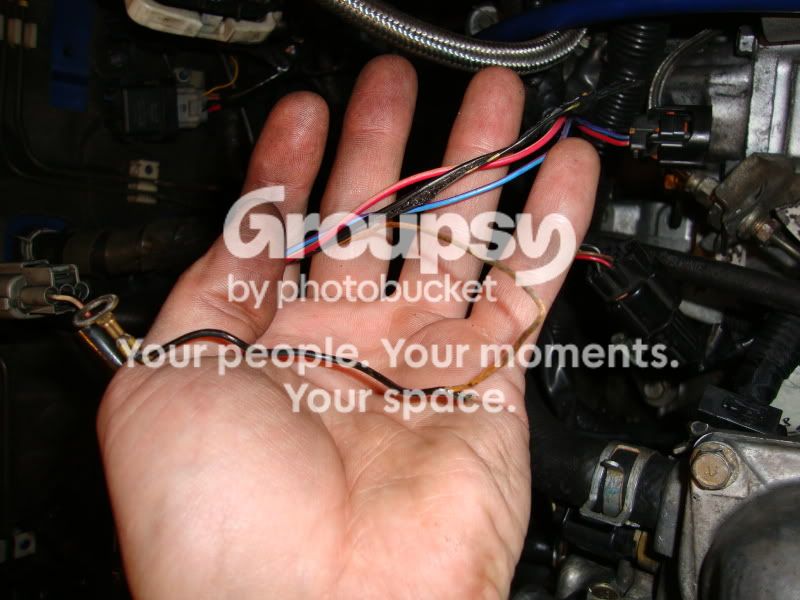
Next some bits of the wiring that confused me. First random earth


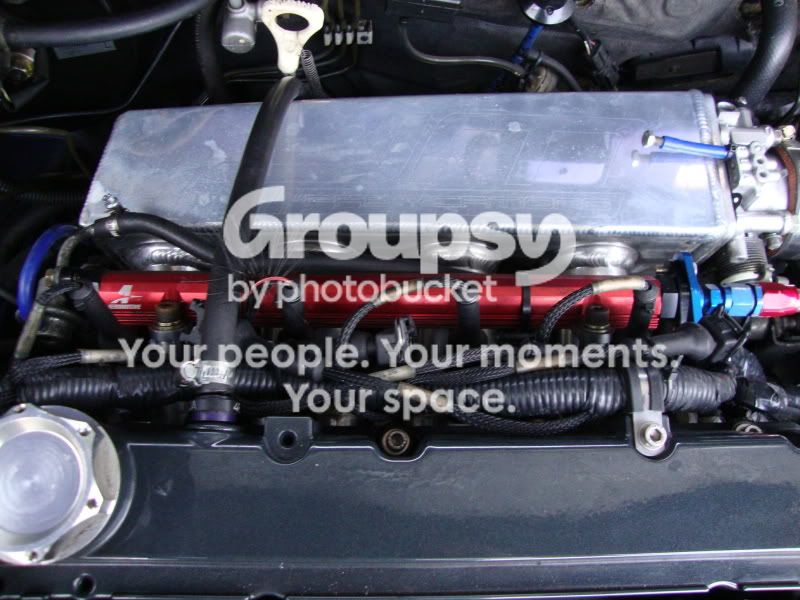
Then my biggest bug bare – The injector wiring, as you can tell it’s a bit of a mess and there seems to be other injector plugs for it too! I’ll get onto that later.


Crap plumbing of gauges and some split hoses.


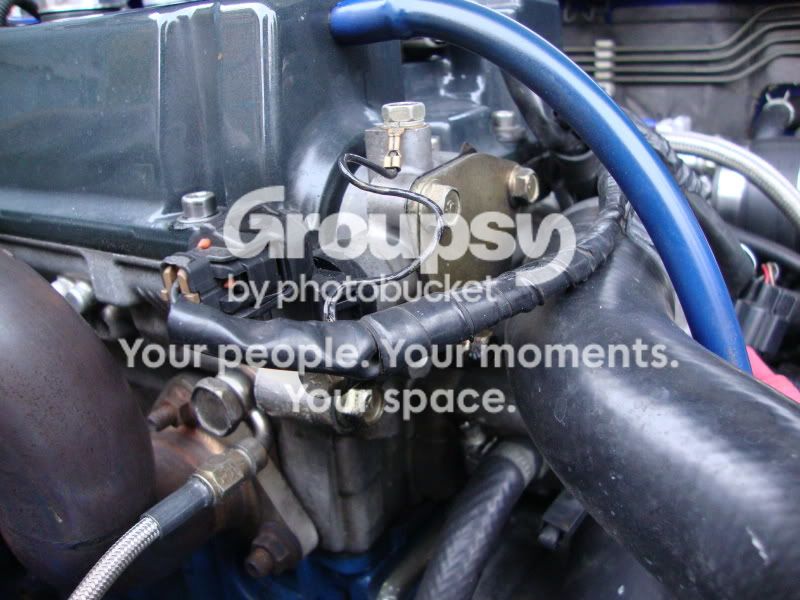
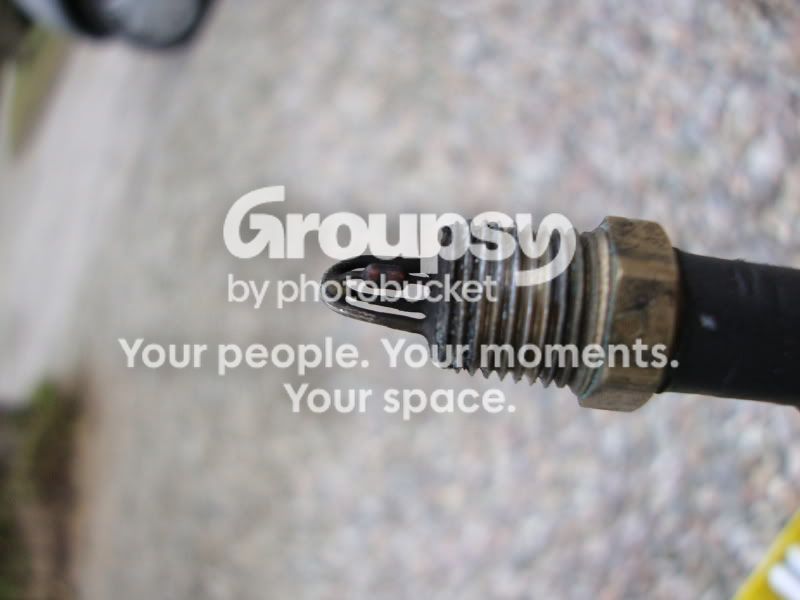
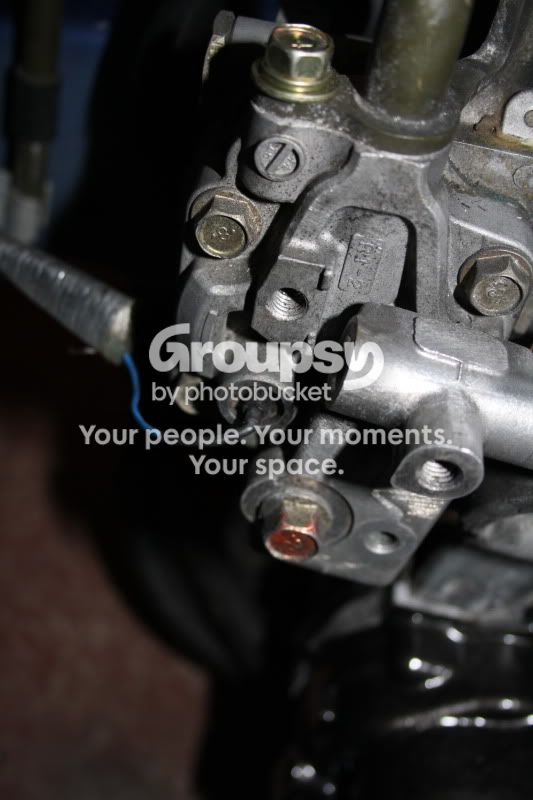
Does anyone recognise this type of sensor? It’s in my upper hard pipe next to the throttle body, but it goes to part of the main loom


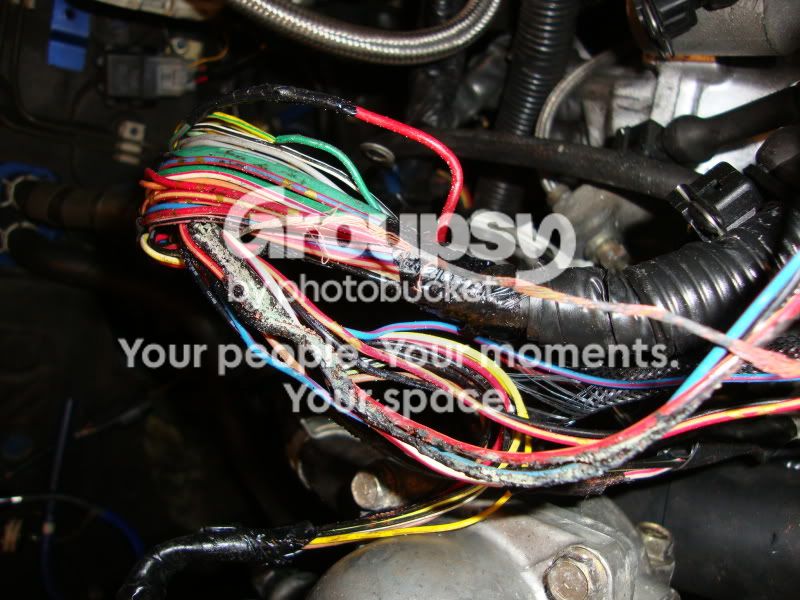
So going back to that random earth. Well, the sheathing was stripped back and taken all the way down to the trunk loom over the gearbox…well lets just say I was gob smacked at what I found.


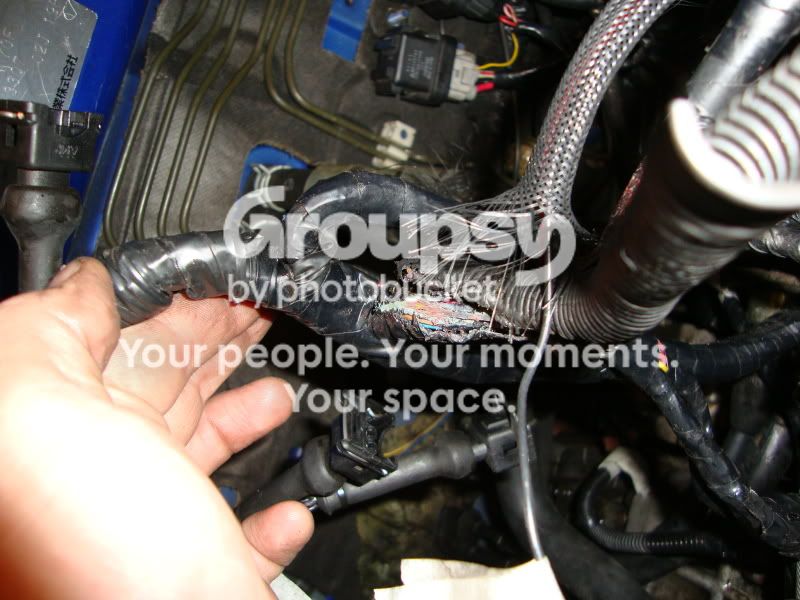
The plastic surround for the wire had charred and gone completely brittle. It just fell apart in my hands, what I have there in my hand is after taking it out as gently as possible to get as much of the crappy plastic with it. No luck. So I took it even further back, and was even more stunned at what bodgery was done on this loom.


Yep, that’s copper oxide aKa wire rust. Water’s got in somewhere. I did think at this point I was playing above my game, but I was actually saddened to think that a car of this stature had a wiring loom put together by a chimp. The plastic covering was all over the place too and the loom started to show more of what it actually was. After spending an evening with the PDF wiring loom files, I checked colours against what I had and it looks like a mix of Evo 9, 6 and a random V8 loom. Yes…that’s right….a V8 loom. So I continued to pull all the plastic off.


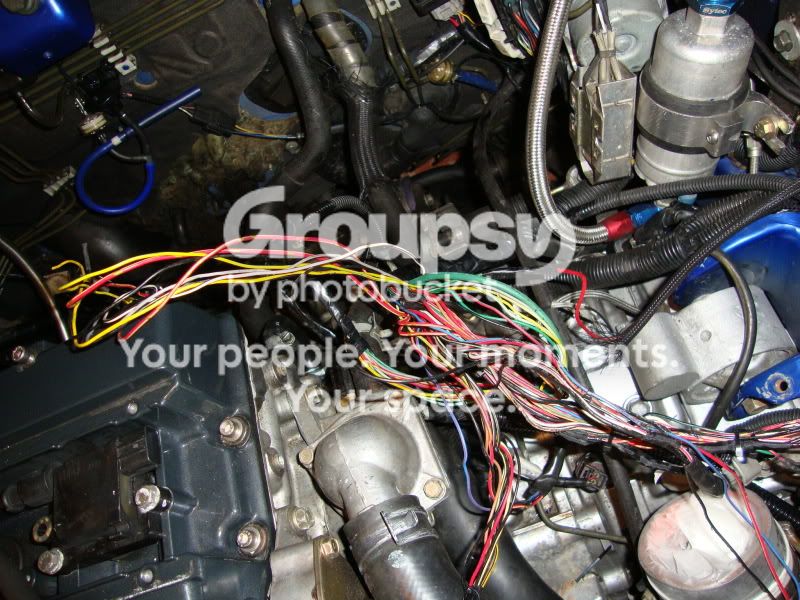
And whilst doing it I decided to continually chase that random earth down to where it lived. It went further and further into the loom, but further down the engine mount side!! It eventually turned out to be scotch locked (shudder!!) into the crank angle sensor’s earth line. I checked for continuity with and without it connected and it made only a MINOR difference so I took it all out, cleaned off all the scorched plastic and then cable tied it back together to the loom’s shape.


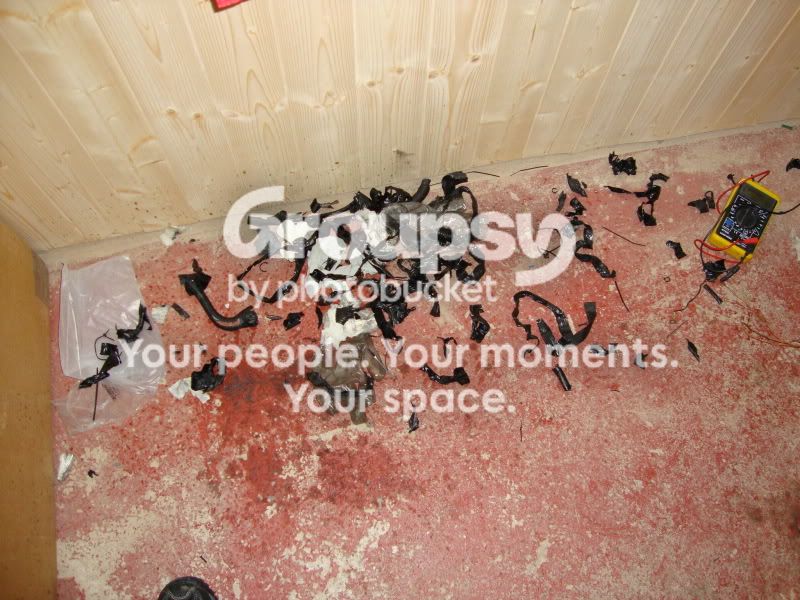
During what the missus described as ‘butchering’ the engine bay, I found that there was a **** loads (yes, it’s a proper measurement) of loom that wasn’t even connected to anything! It appeared at the capillary ends of the loom next to plugs etc and then stopped just after it joins the trunk, so they were ripped out to reduce clutter. At this point I was also creating a fair bit of mess on the garage floor, but there was a fair amount of wiring that I was pulling out.


I haven’t got any pics of the next bit, but going back to that V8 bit of loom. Basically the injector harness had 2 wires that each Y’d off to 2 separate injector plugs, they’re labelled ‘Cyl1 front bank’ and ‘Cyl1 rear bank’, so yeh, I put 2 and 2 together and got V8. I also removed one of the plugs off each of the pairs at the join and then heat shrink wrapped and tied it up. Looked much better!! I also decided whilst the loom was in bits to move it below the intake manifold. After a bit of measuring and some slight extending of some bits, I managed to get it looking a little neater :D


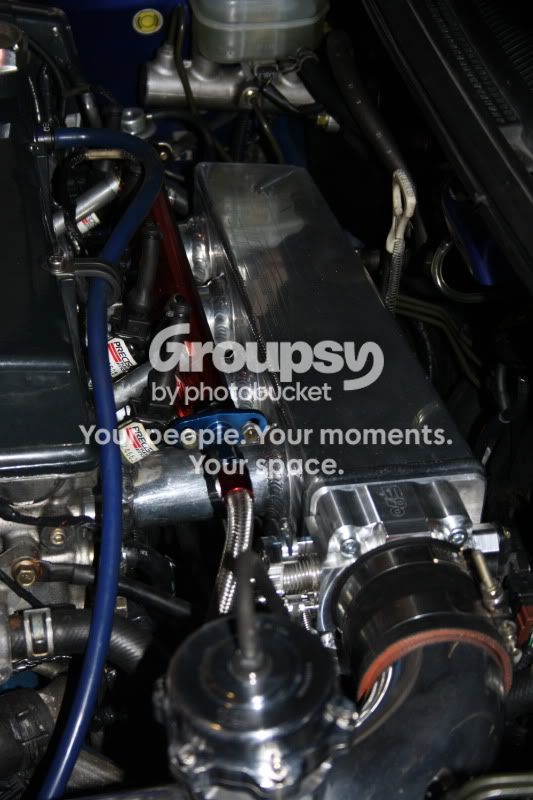
With the manifold off, I opened the inlet up of it to match the new S90 throttle body and started to transfer the bits across off my old one onto it, giving both a damn good polish. This then revealed another issue…the original throttle body is from a 6!!! Neither the throttle pot or idle control valve transferred across, but thanks to MSR on here, I got a low mileage 7 throttle body and transferred the new bits across, again this also showed an issue – the 6’s loom plug for the ICV doesn’t match the 7/8/9’s ☹ So a quick PM to John@evobreakers got another plug and a bit of loom as well as a boot adjustable stopper to sort the boot rattle out :D This was then all fitted and the loom tucked away. I finished off the inlet manifold by sorting out the vac/boost feeds underneath to make them actually work correctly. The fuel pressure reg and BOV were given their own clean feeds, the boost gauge and boost controller were given their own joint feed and the rest were blocked off properly :)


Relocated the boost sensor and neatened the hosing


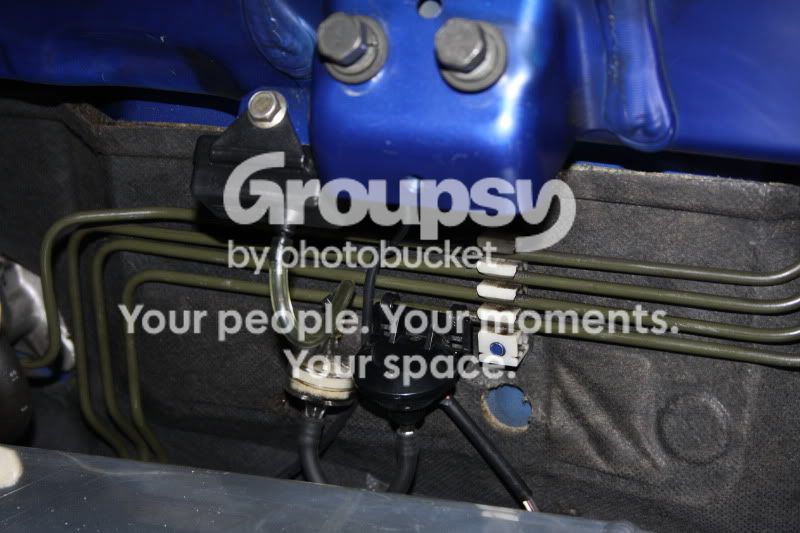
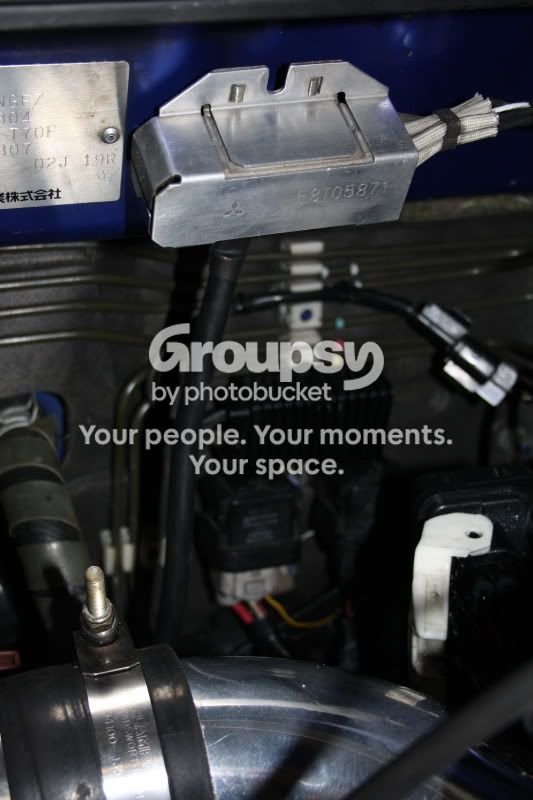
Relocated the injector and fuel pump resistors, painting the one black and mounting it solidly above the pump relays.


The observant will notice the extra earth cables I’ve put about the place. I’ve always been a firm believer of having an excellent earth feed to the engine, chassis and the battery, as the OE ones don’t look great. With the battery on for a test of the electrics, everything lit up properly on the dash and no smell of burning on ignition II, so good news!! I didn’t start the car as there is no coolant in it or boost pipes on it for that matter lol but left it for about 10 minutes checking to see if I could smell burning or feel any heat coming from anywhere. All was good!

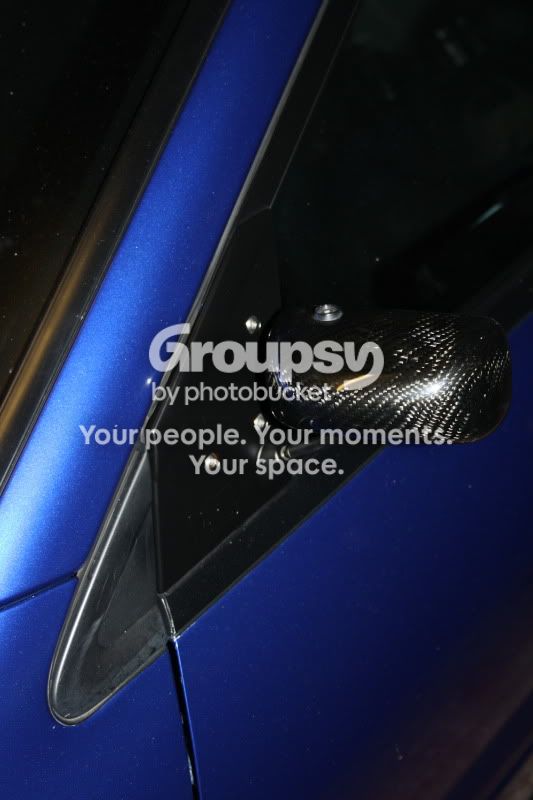
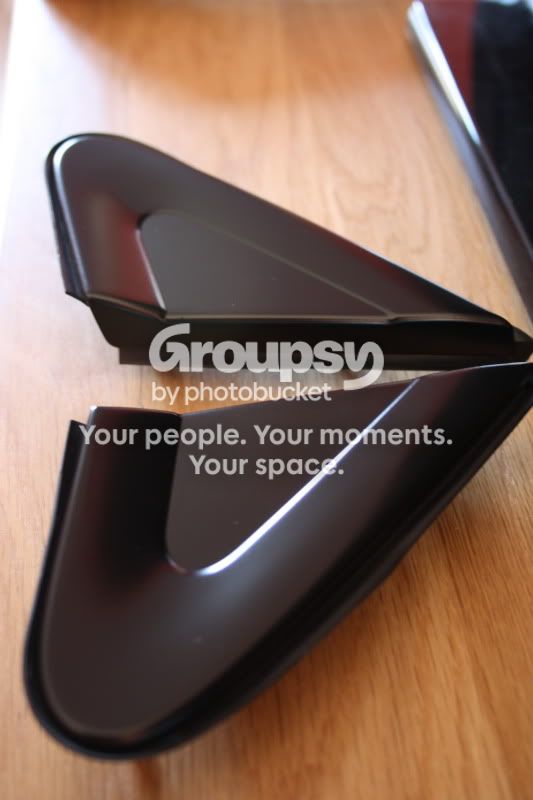
Whilst this was going on, I refurbished the base plates for my wing mirrors as they were corroding and the paint was bubbling so I wire brushed it all off, nitromorsed them until they were bare metal, primed and sprayed with satin black. LOVE the finish ☺ I just need to match the J panels now lol!! Was thinking of carbon ones, but it wouldn’t match and would look odd and tacky.

 
Steve220

Steve220

New Member
Messages
1,093
Location
Moray, 57N
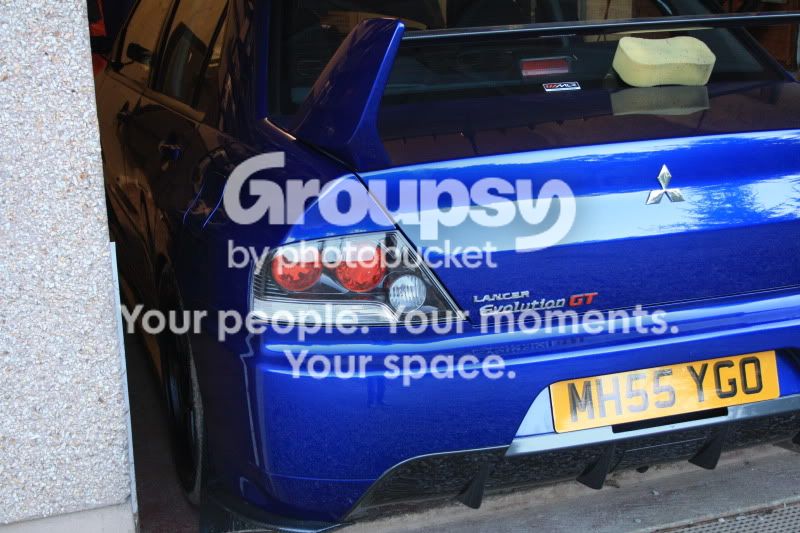
I bought some USDM rear lights off Ant1 :D (ignore the sponge, its there to stop the garage door bonking the spoiler when I partially close it). I love the look of them and after a quick purchase off ebay I got some W21W silver indicator bulbs for £5 ☺ Got 2 sets, one for the rear lights and one for the front :D


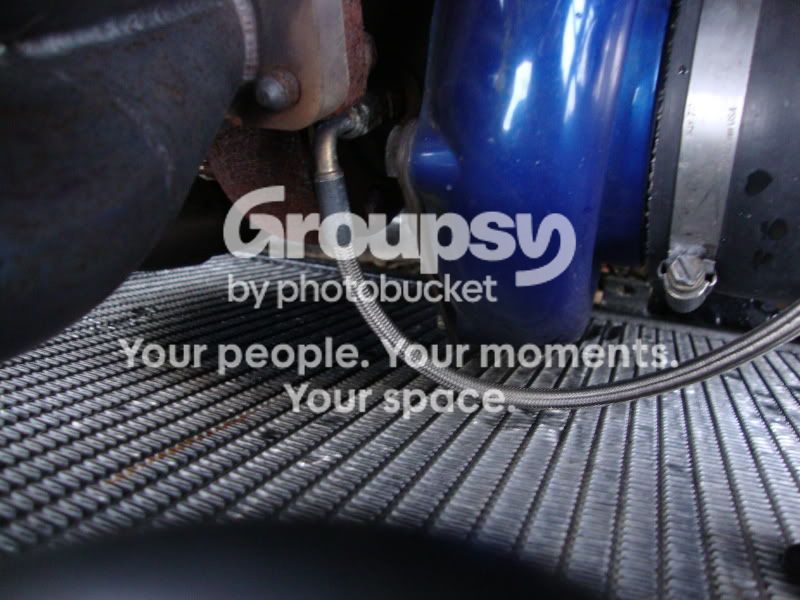
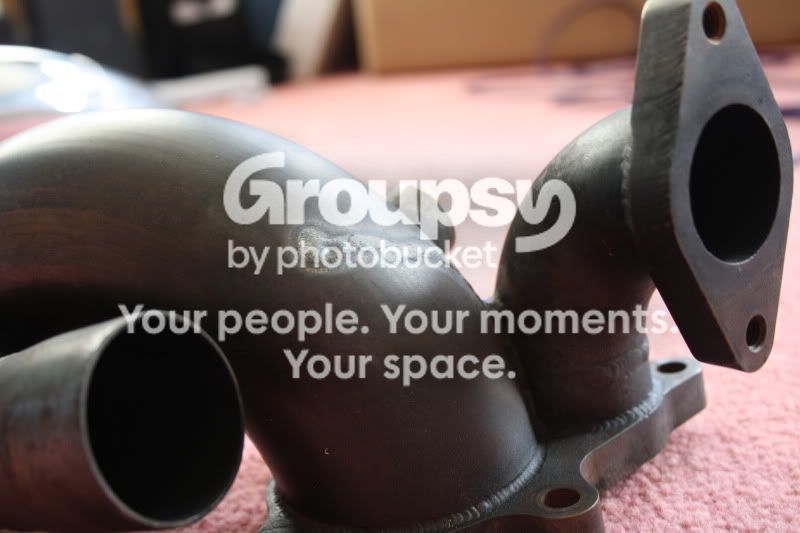
SO! Onto the turbo :) only recently I’ve noticed that I get exhaust fumes from the engine bay on start up, on closer inspection I found the turbo elbow is cracked ☹ The turbo had to come out! It was also blowing soot onto the radiator from the wastegate sleeve join and manifold/turbo join.


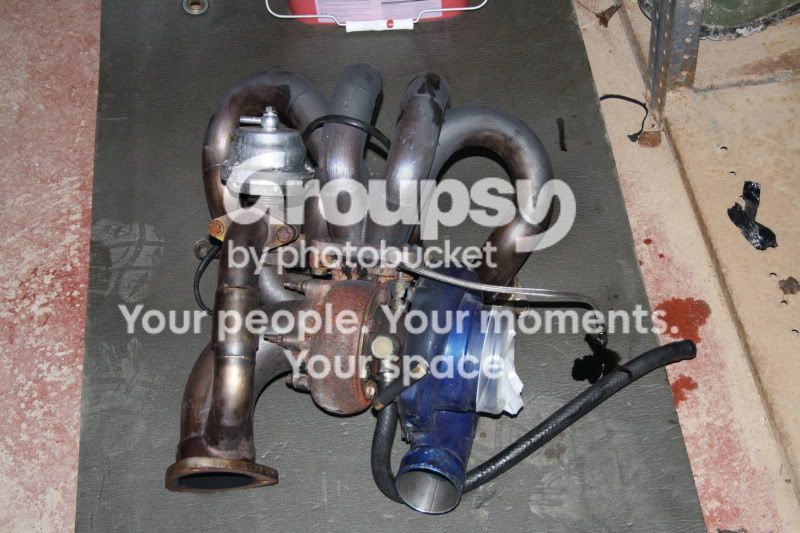
I also wanted to do something with that ghastly blue finish the cold side of it had on. So after some f’ing and blinding, it all came off as one ☺ Notice my experimental paintwork on the manifold – just some black/grey VHT paint I was testing out to see if it worked.


Here’s the crack in the elbow.


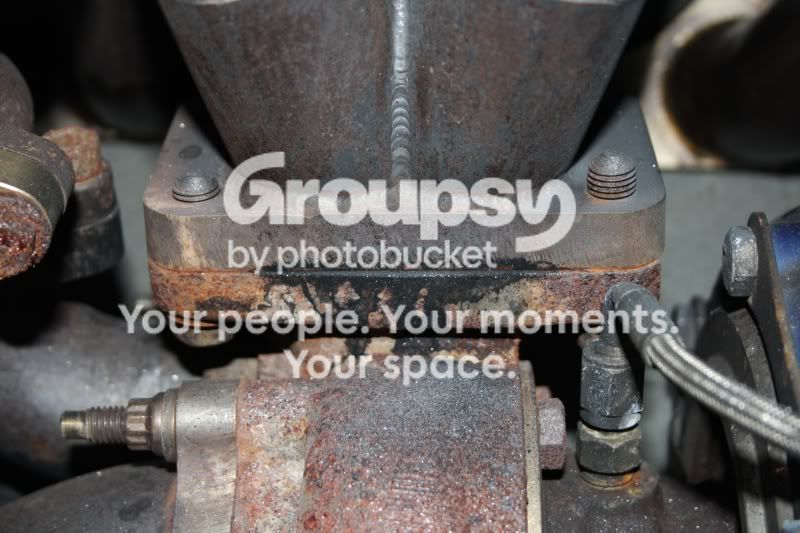
So off to Paul (neverneverman) to get fixed, also, here’s the blowing from the join. I’ve tried to get the bolts off and after a fair bit of head scratching and some clever socket arrangements, I got them off! They will be replaced with ARP ones :)


With bits and bobs out and about to other people getting sorted, I thought I’d spend a little time on that turbo cold side :D I really didn’t like the blue finish and had a good look at it to see what it was, paint or some sort of ceramic coating, either way I poured the nitromorse over it and hoped for the best. An hour later the plasticy coating was falling off as a rubbery goop. It took a few hours working with it to get the last bits off and out the tight spots but it finally went back to bare alloy. With some wire wool and metal polish it came up nicely :D Very pleased with the results!!!


And also gave the cusco catch tank the once over again :) The observant will notice I got rid of the crap blue colour to replace with satin black :)


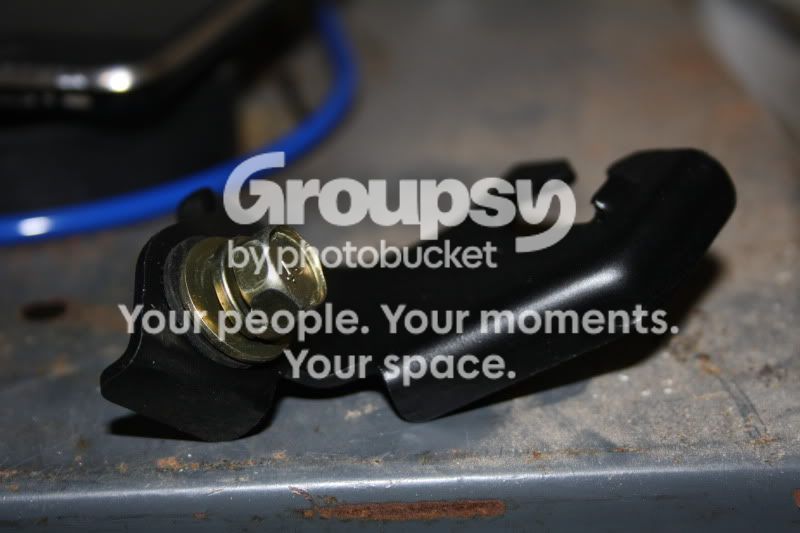
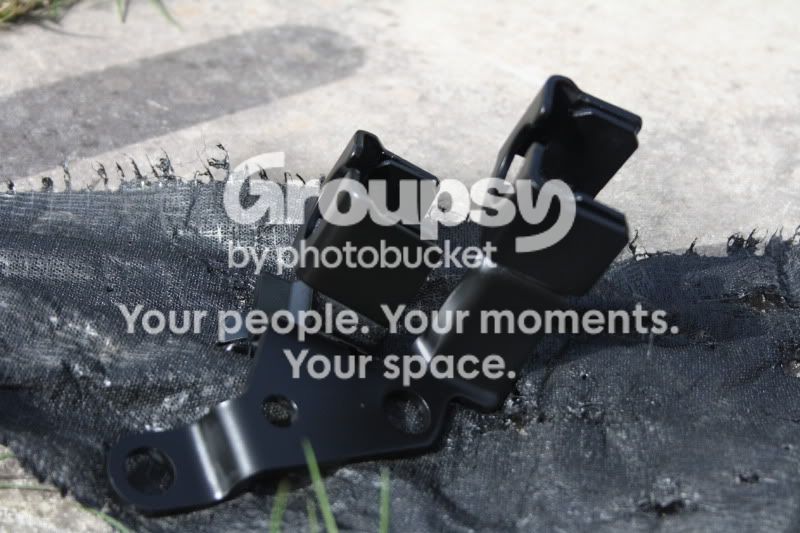
Whilst having a paint, I thought about re-doing the gearbox as some of it was getting grubby and falling off. Rather than remove the gearbox completely, I removed all I could to reveal as much surface area of the box, all the ironwork and little mounts were removed, sanded down, zinc primed and sprayed satin black to match other little parts ☺ The rubber vents had been painted silver (god knows why) so I gave them a clean up with some hot water and soap, paint fell off and then I gave them some rubber treatment :D


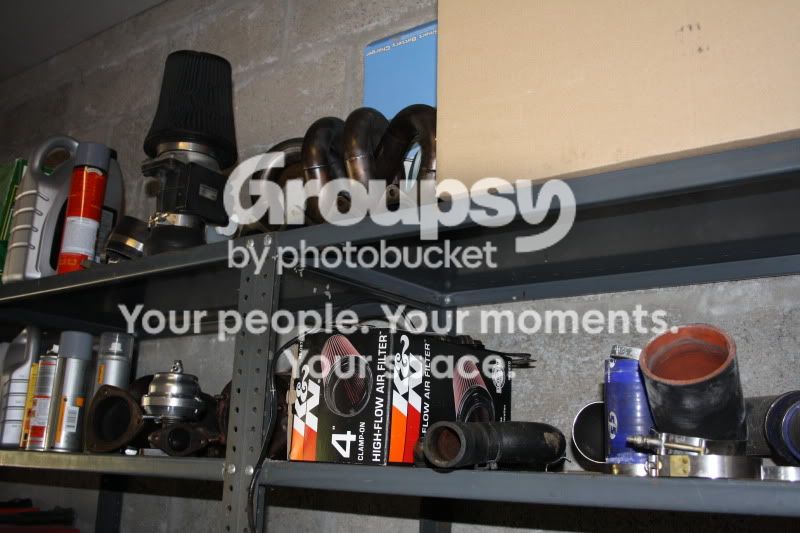
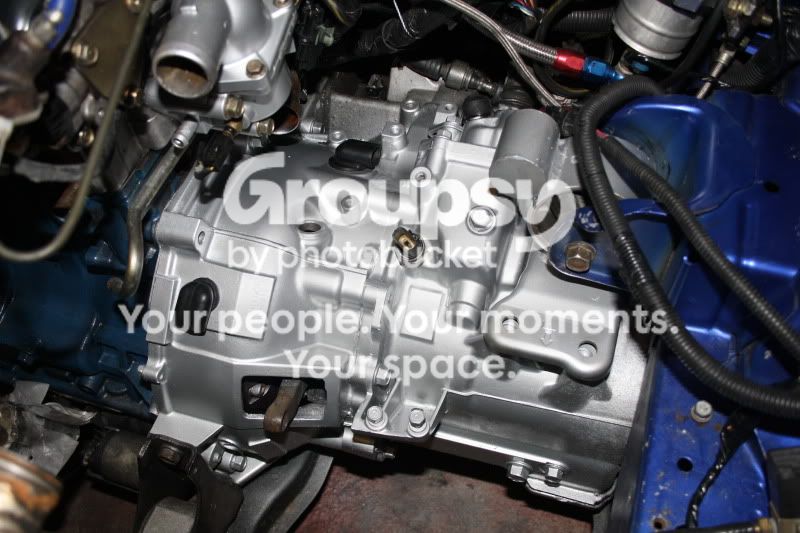
Then onto the gearbox, this was easier than I first thought. I degreased it and got the wire brushes out as well as get the attachments for the drill and went nuts!! After giving it a full clean off, masked up the area and got the paint out! I LOVE the result, really impressed!! So much so, I did the thermostat housing too! Once I gave it 24 hours to dry so it went solid, I started to put it all back together. I also noticed I’m starting to collect random stuff too lol


On Saturday morning I was rudely awoken by the posty with a box I thought I recognised, yep.. it was my turbo elbow back from Evolution Solutions :D


Next job is to order a set of ARP bolts for the turbo->manifold join and I can start putting it all back together :D

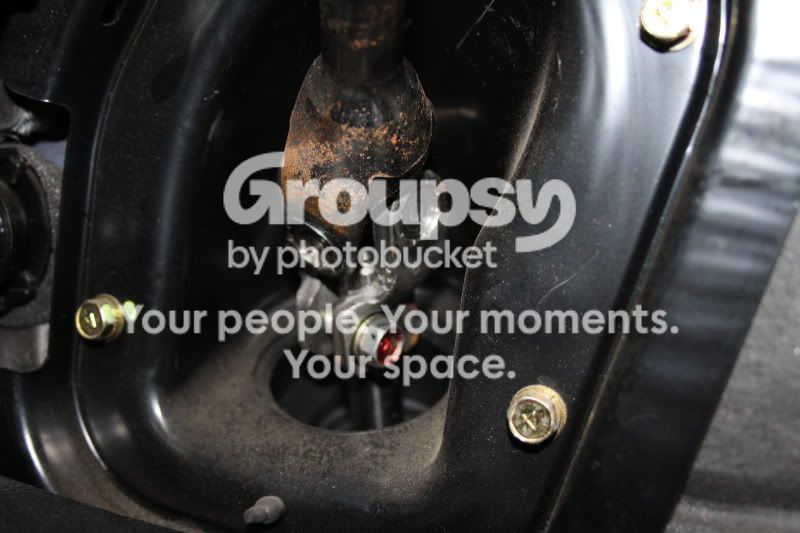
One thing also I really wanted to investigate was the excessive play in the steering, its always bugged me but I’ve never had the chance to sit and diagnose it. For ages I thought it was just the rack, but I checked all the ball joints, tie rods for play and nothing, I took a glimpse at the steering column and saw it moved with the wheel, so it wasn’t that either. My head scratching I phoned the old man to see if he knew, he said he had something similar with one of his old mini’s and to try where the column attached to the rack. So went back to the car and pulled back the carpet to reveal the pinch assembly….with no bolt in it. Yep, that’s right, no bolt holding the clamp onto the steering rack. Shocked? I felt sick. I found it further under the carpet so put it back in and gave it a bit of threadlock and a good tighten.


In the midst of not having any electricity running through the car, I took a chance to have a look behind the clocks as the odometer LCD panel was awfully dim compared to any other evo I’d seen. So once I took it out I could see it had some random dash bulb in it with a blue rubber cap over it. I still chucked it and got a new one, also some LED rear number plate lights from Halfords (on sale for £5 a set ☺). The sensor wire from the PS pump was also re-attached and heat shrunk to keep it on there.


With it all sorted, I got the battery back on to test it all only to be deafened by the alarm at first. Again, I left it on ignition to see if I was getting any faults through, ABS and engine light went out ☺ Nice. Tested all the lights and I finally have an odometer I can read!

Also got started on the J panels to match the wing mirror base plates. Usual wet and dry process, plastic primer and satin paint. Very impressed with the finish on these :) They’re now drying in the sunshine :D


And whilst in the painting mood, I got rid of that sky blue colour on the engine block. Never liked it. So painted it hammered black :) Picture doesn’t do it justice unfortunately.


So thats it for now! Just waiting on prices on a few things from Gav at Co-ord then i can get it ordered and carry on :D My bits from Ross Sport and Evolution Solutions have been ordered, so looking forward to them arriving in a massive box to cheer me up :D
 
Steve220

Steve220

New Member
Messages
1,093
Location
Moray, 57N
Little update :D

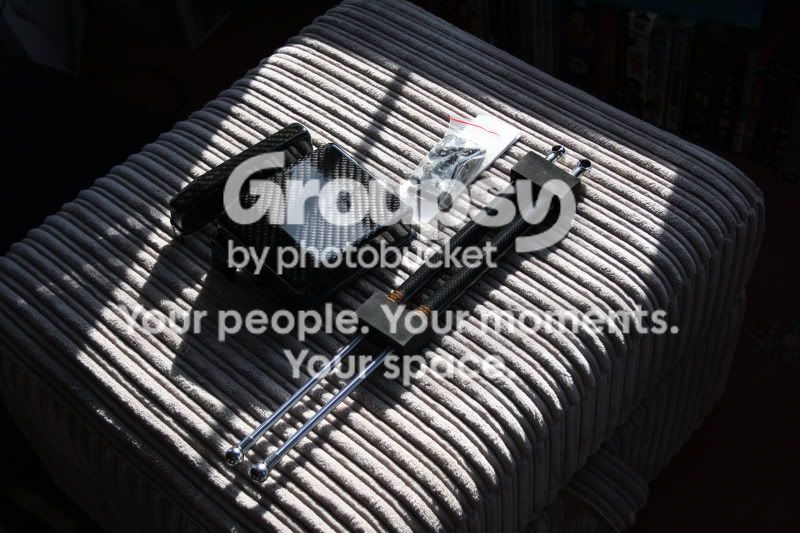
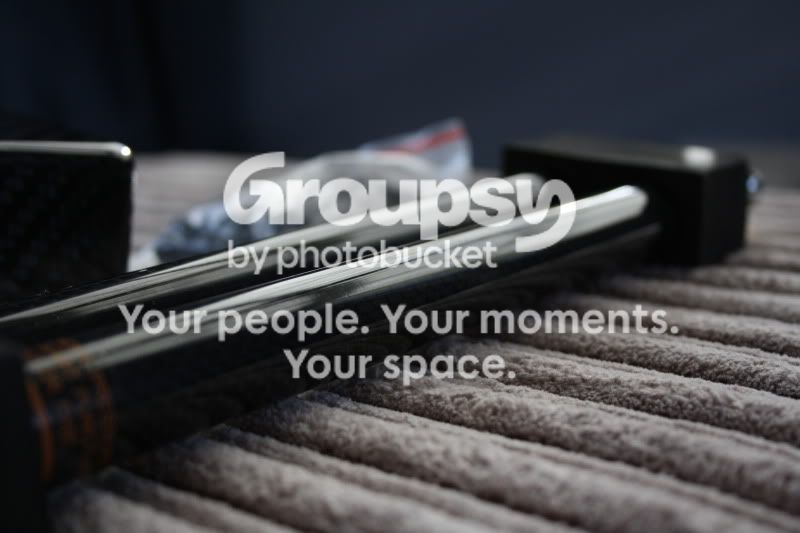
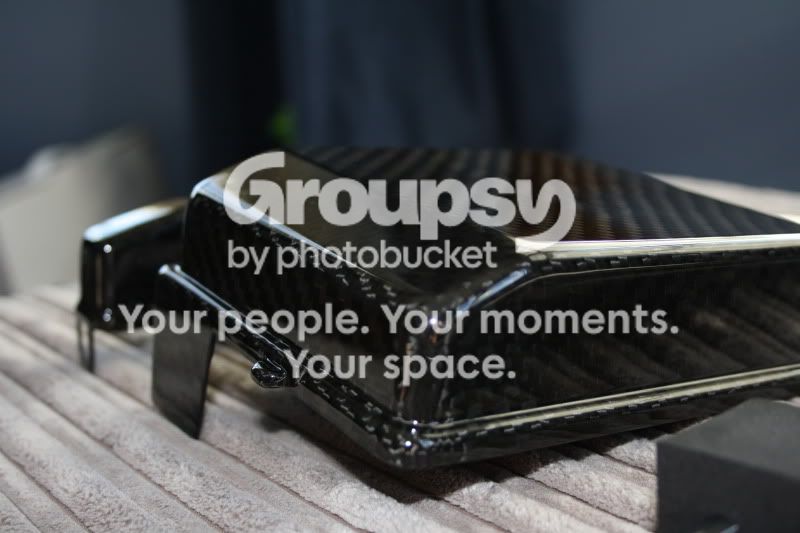
First of all my carbon fuse box cover and bonnet dampers. I decided rather than paying the prices for these, i went straight to Rexspeed and Derek did a GREAT price on them, so much so that i will be placing future related orders for bits from him :D


Also a nice PM from Gav @ Co-ord that my samco is in :D Win!!! Can't wait to get that up here :naughty: Hopefully they'll be with the rest of the bits i ordered and i can carry on getting the car back together :smthumbup

I'm starting to work through more wiring after finding some random ones behind the dash as i was installing some sound proofing. Some were linked together but their other ends weren't connected to anything :confused: So out they came :)

Once i was happy with the result, i got the battery off the trickly charger and onto the car, it powered up nicely and no issues with the dash wiring at all :D Only issue i had was from the driver's window that wouldn't go up on its own properly, so re-set them and now all working fine :D
 
Nickygixer-k5

Nickygixer-k5

Well-Known Member
Messages
4,912
Location
South Wales
I saw all this over the road, very nice especially the gearbox. What did you use on it? Also whetes the plate gone from behind the resistors? Well impressed with the tubby Steve might give mine a go, again what products were used?
 
Steve220

Steve220

New Member
Messages
1,093
Location
Moray, 57N
Nick, i take it you're on about on the fire wall next to the ABS pump?? Mine never had them. They were attached to each other and cable tied to the brake pipes. The gearbox is alloy paint i got from the guys at work, the turbo was relatively shiny underneath so i just used the polishing attachment on my drill and some rubbing compound.
 
Steve220

Steve220

New Member
Messages
1,093
Location
Moray, 57N
Thanks guys :D tiny update :)

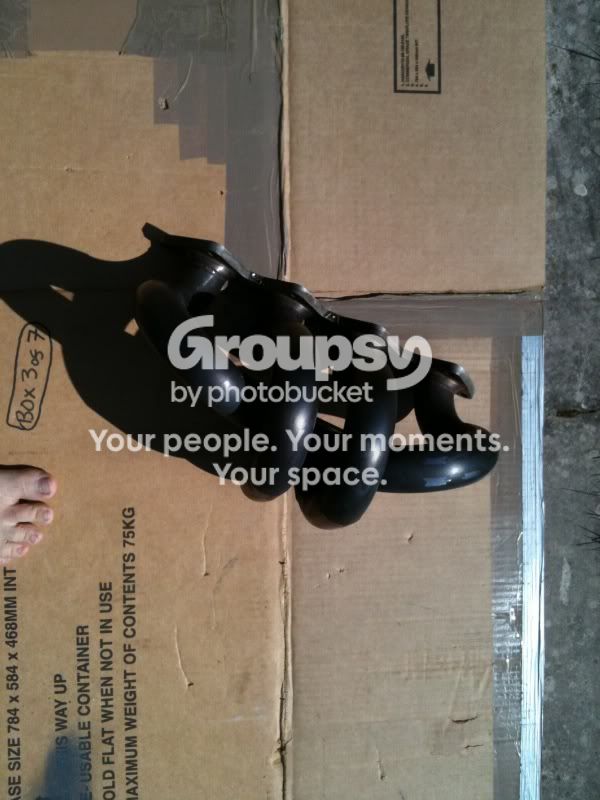
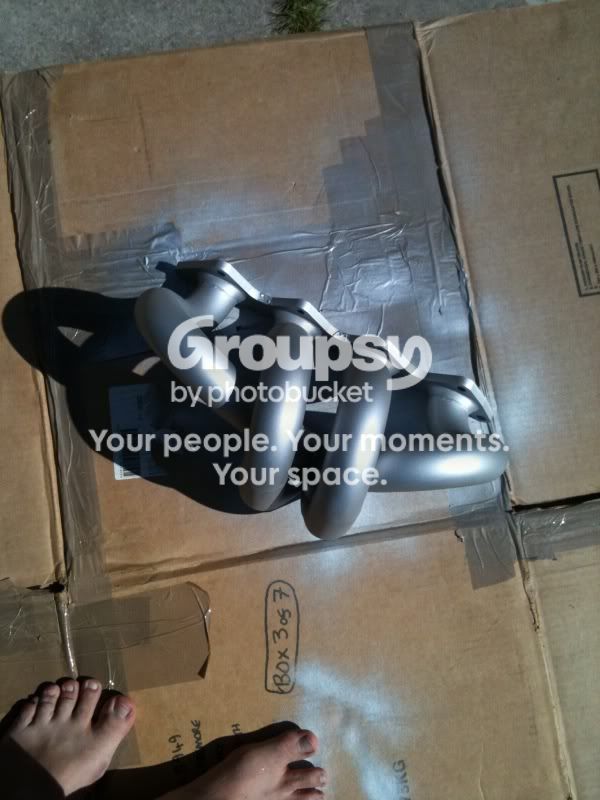
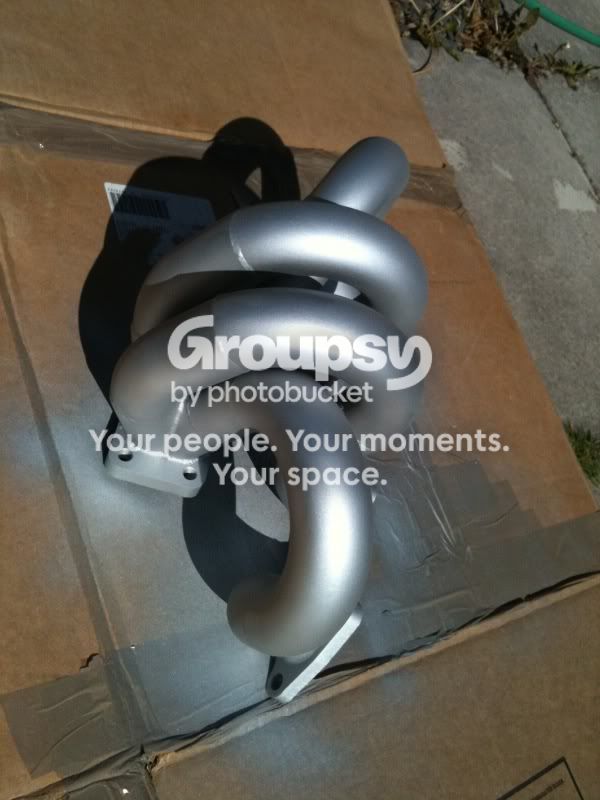
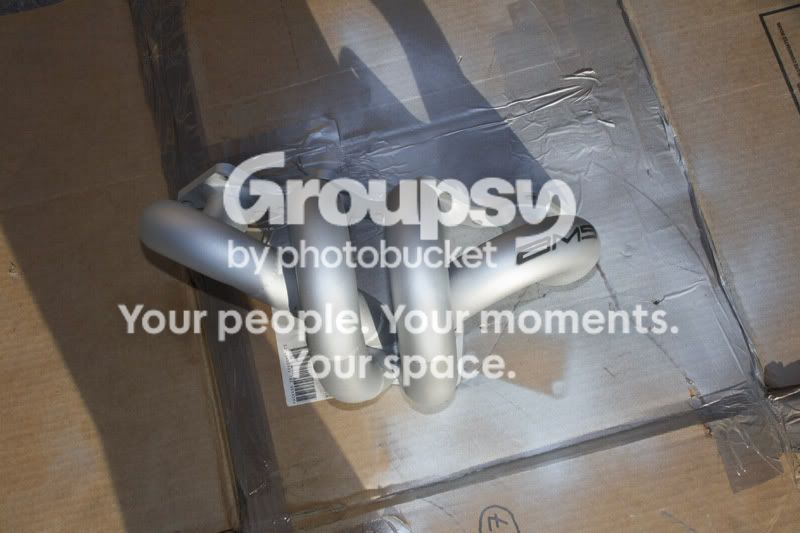
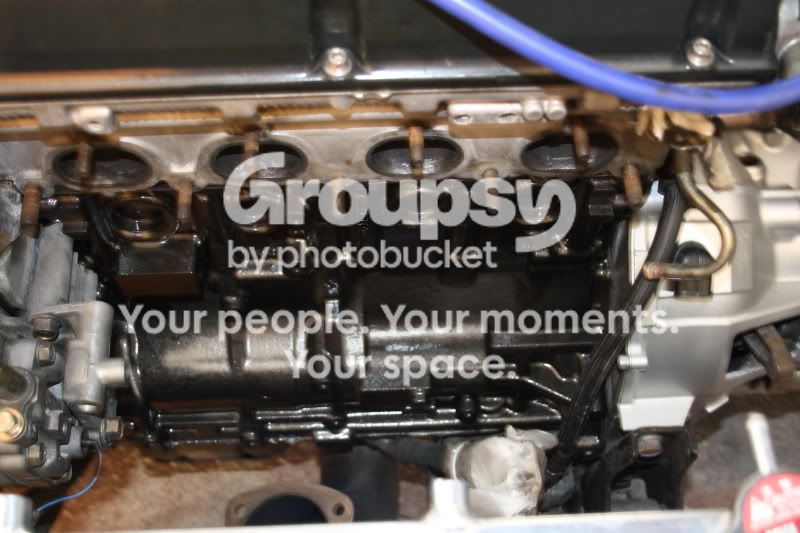
Weekend with nothing else to do, i decided to have a go at cleaning/polishing my exhaust manifold. Well i got as far as degreasing it and rubbing it wire wool to get to bare metal, autosol to get a shine and it was taking forever, so decided to spray it :) I first ground off with the dremel the little bits of weld left over from when the AMS badge fell off. I've got loads of VHT paint lying around, so gave it a go. I think this is the marmite part of my car, you either like the silver or not.


I like it :) And there IS method to madness, so standby to see what i do with this ;)
Steve
 
B6lee

B6lee

Community Leader
Messages
13,370
Location
Bath
Looks ok to me, what you got planed then ??
 
Steve220

Steve220

New Member
Messages
1,093
Location
Moray, 57N
After a quick go at stencilling and some experimenting, i came up with this :D
 
Steve220

Steve220

New Member
Messages
1,093
Location
Moray, 57N
It keeps me out of trouble :D i really love the result as its a kinda messy look on what will be a sterile engine bay lol. I'm going to re-do it though and move it further up the pipe :)
 
Nickygixer-k5

Nickygixer-k5

Well-Known Member
Messages
4,912
Location
South Wales
Nick, i take it you're on about on the fire wall next to the ABS pump?? Mine never had them. They were attached to each other and cable tied to the brake pipes. The gearbox is alloy paint i got from the guys at work, the turbo was relatively shiny underneath so i just used the polishing attachment on my drill and some rubbing compound.

Yeah thats the one on the firewall (bulkhead) on mine it's got the 2 heatsinks and various cables attached to it:confused: Don't suppose you know the name of it Steve? as the finish looks spot on;) So a standard tubby wouldn't polish up like that then because it's a cast finish:cry::cry:
 
Top